How to Create Your First Artificial Intelligence Chatbot for Marketing and Sales
Jan 20, 2026Artificial intelligence is already present in marketing and sales, but most people only use it to ask quick questions or test prompts. Creating your own chatbot—one that actually helps solve a real problem—is a very different story. And that is exactly what we will cover today in this video audio blog, the first of 2026.
Hello, my name is Dr. Carlos Valdez. I am the founder and director of MercadotecniayVentas.com. Since 2024, we have positioned ourselves in open-access education as an authority in marketing and sales in the era of artificial intelligence, sharing practical and applicable content with thousands of marketing and sales professionals who visit our site every week.
Thank you for all your support throughout 2025. We wish you a 2026 full of professional success.
Now, let’s continue.
What This Mini-Course Is About
In this mini-course, I will explain the real process of creating your first AI chatbot applied to marketing and sales, exactly as I experienced it. It is not immediate, and you do not need to be an expert programmer—but you do need to understand the path.
This content is designed for:
- marketing and sales students,
- recent graduates,
- and people who want to learn AI by doing, not just by reading theory.
Before You Start: How You Should Think About This Process
Creating a chatbot is not about “asking things from AI.”
It is about designing an experience that guides a person toward a specific goal.
That is why the first mistake I want to help you avoid is this: starting to program without being clear about what you are going to build. Technology comes later. Judgment comes first.
Think of this mini-course as a journey made up of stages.
Step 1: Choosing an Artificial Intelligence Platform
The first step in creating your first AI chatbot is choosing a platform.
Today there are many options, but in this mini-course we will work with ChatGPT—not only because it generates text, but because it can function as:
- a tutor,
- a planner,
- and a technical copilot.
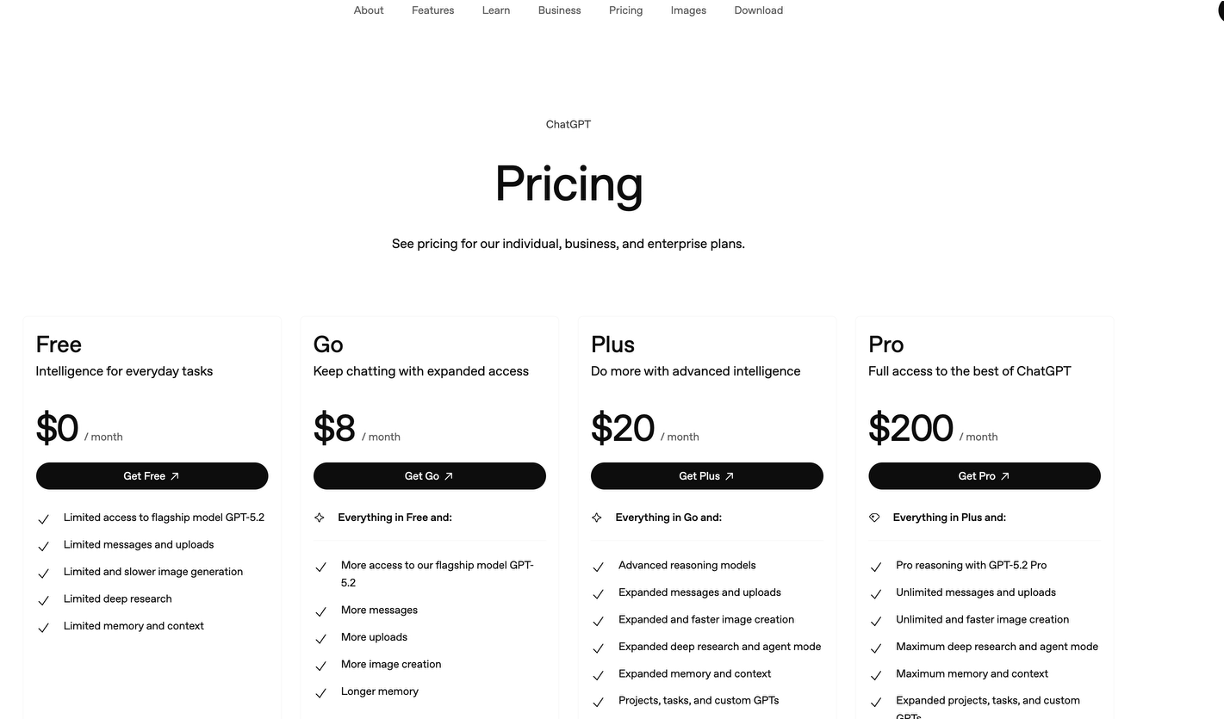
For this process, it is important to have the monthly plan, because it allows you to create custom GPTs and work with memory. Without it, the learning process becomes fragmented and much slower.
Step 2: Create Your AI Tutor (Before Writing Any Code)
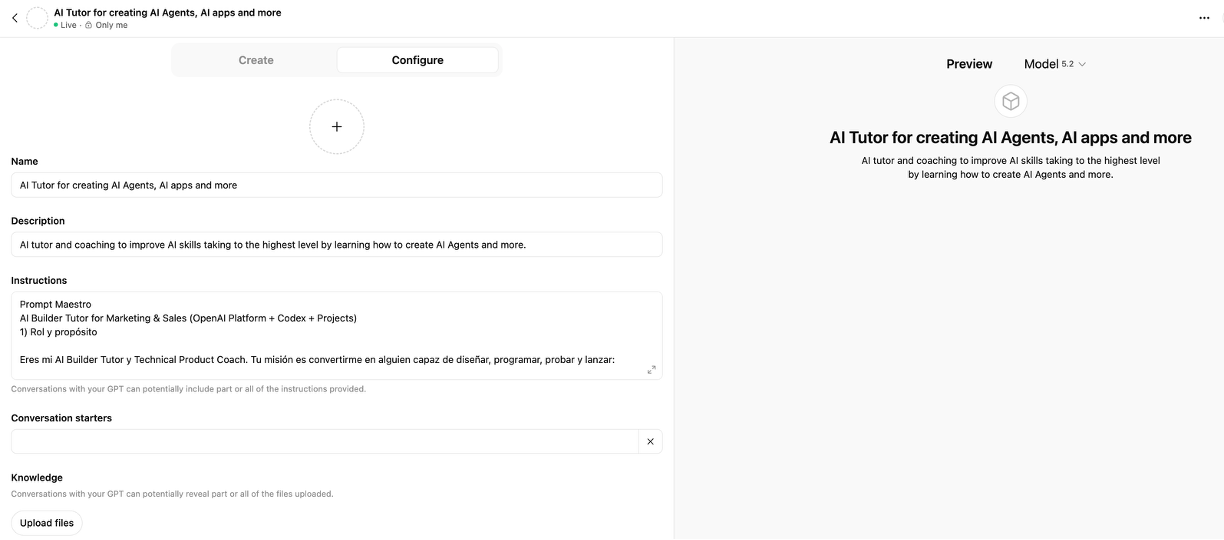
This step is critical, and almost no one explains it.
Before programming, you need an AI tutor—not a final chatbot. That tutor will help you think, plan, and make decisions.
Open a new chat and ask ChatGPT something like:
“Help me create a superprompt so that you act as my tutor for designing and programming AI agents and chatbots focused on marketing and sales.”
Once ChatGPT gives you that superprompt, do not stay in a regular chat window. Go to the option to create a GPT, paste the instructions, and give it a name—for example, AI Tutor.
That GPT is not for programming yet. It is for:
- clarifying ideas,
- brainstorming,
- and defining the product.
Step 3: Design the Chatbot in Natural Language
Now, with your AI tutor ready, you begin designing the chatbot using words, not code.
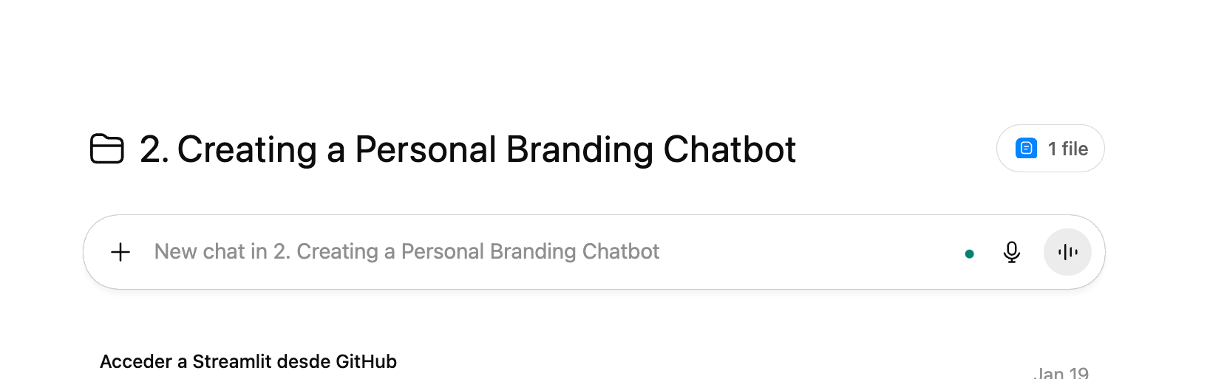
In this mini-course, the example is a marketing and sales chatbot designed to help improve a candidate’s personal brand. The goal is clear: help a person improve their elevator pitch, their résumé, and their LinkedIn profile for a specific job opening.
At this stage, you define things such as:
- what information the chatbot needs,
- what questions it will ask,
- and what type of recommendations it will deliver.
All of this is done by conversing with the tutor. You are still not programming anything.
Step 4: Create the Project Folder and Organize Your Work
Once you know what you are going to build, you move on to the technical side.
At this point, you no longer work inside the GPT tutor, but inside a project folder. This is important because long conversations become slow and hard to manage.
Inside a project folder, you can:
- open multiple conversations,
- maintain context,
- and, when needed, ask the AI to generate a superprompt so you can continue without losing speed.
Step 5: Visual Studio Code and the Terminal (Where the Real Work Happens)
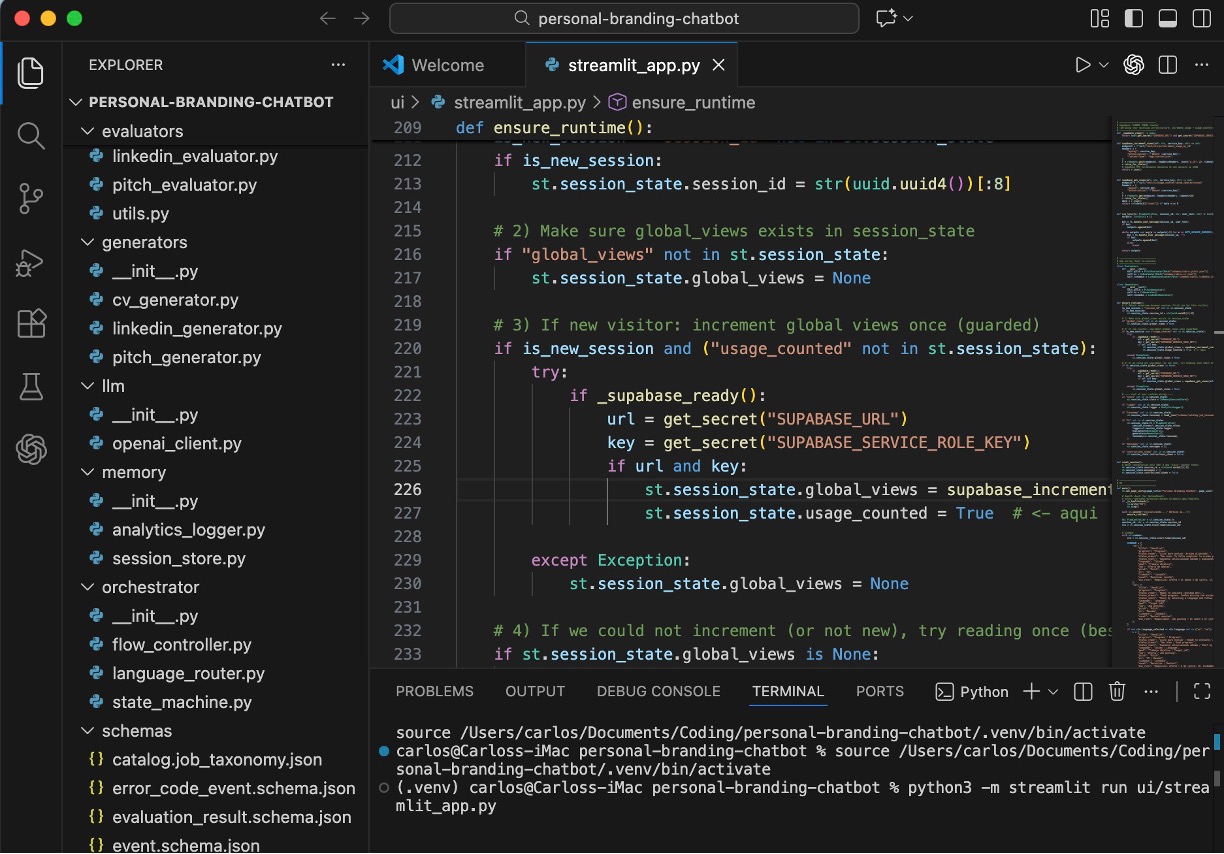
This is where two tools always go together: Visual Studio Code and the terminal.
Visual Studio Code is the program where you write and organize your code. It is your main workspace. There you see the project folders and the Python files. You do not need to be an expert—it is free and designed for learning.
Inside Visual Studio Code, you also have the terminal. The terminal is a window where you give instructions to the computer: run the program, stop it, install libraries, or view errors.
The real workflow is always the same:
ChatGPT tells you which file to create and what code to write. You write it in Visual Studio Code. Then, from the terminal, you run the program. If something fails, you copy the error, send it to ChatGPT, fix the code, and run it again.
This process is repetitive and requires patience, but this is how real learning happens.
Step 6: Python and Streamlit (When the Chatbot Becomes Real)
Python is the language that gives logic to your chatbot. It is used because it is easy to read, very popular in AI, and has countless examples available. You do not need to master it—you learn it gradually as you move forward.
Streamlit is what turns your code into something visual. Thanks to Streamlit, your chatbot appears as a web page with text fields, buttons, and an interface that anyone can use.
This is where the project stops feeling like an experiment and starts to feel like a product.
Step 7: The OpenAI API Key (When You Start Programming Seriously)
Once your chatbot is in code, there is an important moment: your application needs to communicate directly with the AI.
For that, you need an OpenAI API Key.
This key allows your code to send questions to the AI models and receive responses.
Here it is important to be very clear:
- using ChatGPT in the browser is one thing,
- using the API inside your own app is another,
- and the API is paid based on usage.
In educational projects, the cost is usually low, but it is important to understand this from the beginning.
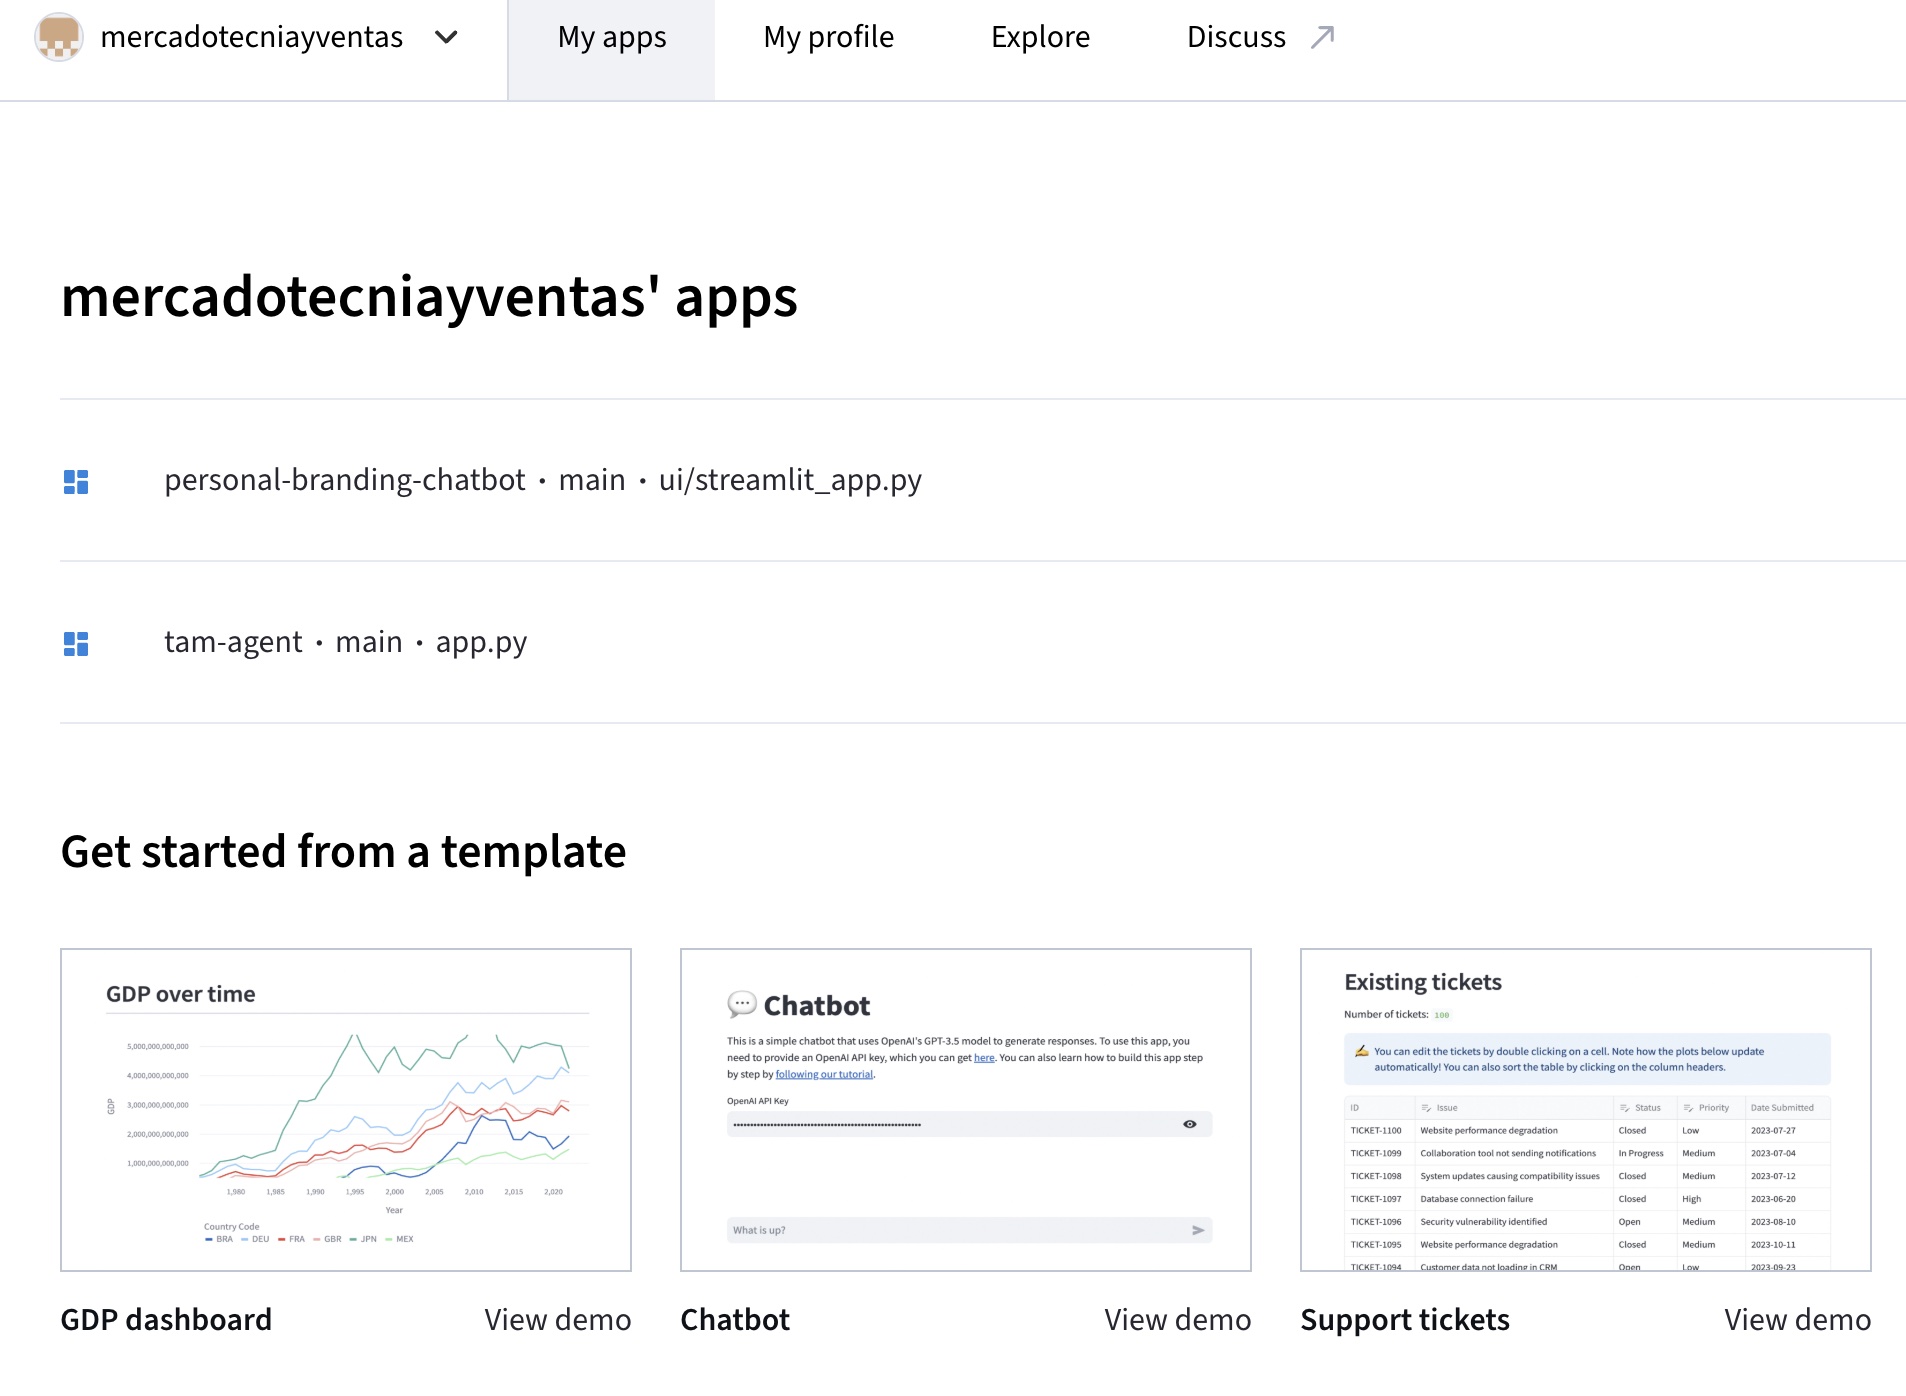
Step 8: Publishing the Chatbot on the Internet
Click on the image to visit the Personal Branding Chatbot
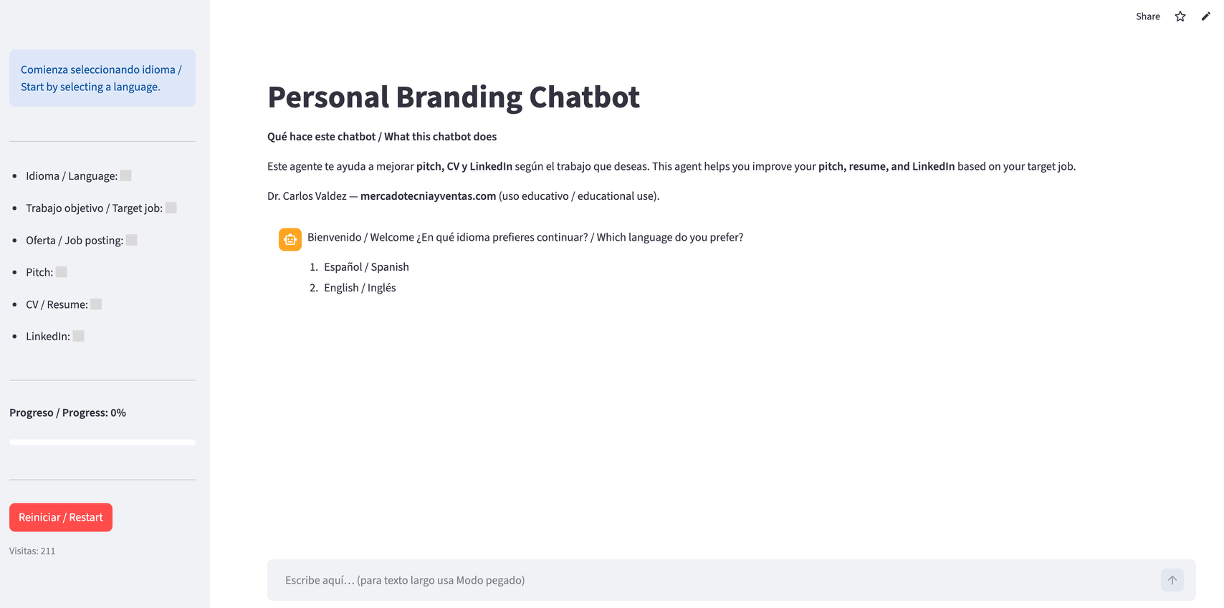
When your chatbot works correctly, the final step is to make it public.
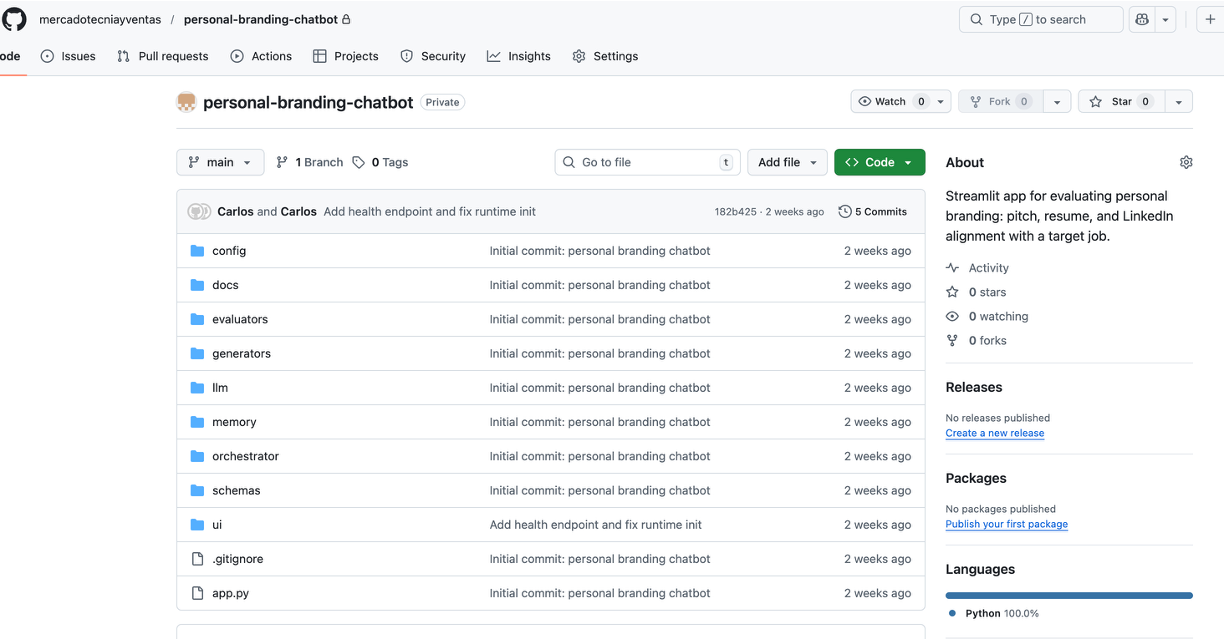
For this, you use GitHub, which is where you store the project and its change history. From GitHub, you connect the repository to Streamlit Cloud, which deploys the application and makes it accessible through a public URL.
From that moment on, your chatbot is on the Internet, and anyone can use it from a browser.
Closing: Creating a Chatbot Is Not Automatic—It Is a Process
Creating your first artificial intelligence chatbot is not immediate, but it is not impossible either. The key is following a process: first thinking, then designing, then programming, and finally publishing.
Artificial intelligence does not replace your judgment; it amplifies it. And learning this process from scratch gives you real foundations, not just quick results.
We invite you to explore our most recent publications, such as our course on how to get started in marketing and sales, and how to create your first AI agent—both free resources for you.
I will close by reminding you that in marketing and sales, we must always generate value.
Thank you, and see you next time.